
Biometrics is a commonly seen security feature on your phone. Whether it’s fingerprint or facial recognition, you’ll see it when you log in to your bank or using Google / Apple Pay. We’ll find out how to add biometric authentication to your Xamarin.Forms application.
- Getting Started
- Configuring Android
- Configuring iOS
- Implementing the biometric check
- Testing
- Resources
Getting Started
Before we start adding support for Biometrics to our application, it’s worth understanding that this functionality works with the built in Biometric support of the OS on the users device. This won’t allow you to capture fingerprints within your app. This will ask the OS to prompt the user, and report back to your app whether they are authenticated or not.
Add the Plugin.Fingerprint NuGet package to all of your projects (Shared and platform specific)

Configuring Android
For this to work properly, we need to ensure that the target SDK version for our app is greater than 6.0, and if you have migrated your Xamarin.Forms app to using the AndroidX packages then you won’t need to install the Xamarin.AndroidX.Migration NuGet package as the documentation suggests.
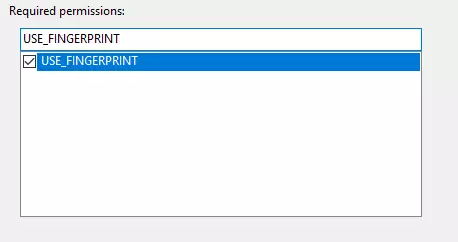
To start, our app requires permissions to access the fingerprint.
<uses-permission android:name="android.permission.USE_FINGERPRINT" />
Now that the permissions are set up, the plugin needs to know which activity we’re working in so that it can show the prompt on the correct activity. As Xamarin.Essentials is bundled as part of a new Xamarin Project we’ll use that to establish the current activity (If you’re still using James Montemagno’s Current Activity Plugin then this will work as well).
CrossFingerprint.SetCurrentActivityResolver(() => Xamarin.Essentials.Platform.CurrentActivity);
As we’re using Xamarin.Essentials to help us work out the current activity, we need to ensure that the activity resolver is declared after we have initialised Xamarin.Essentials.
protected override void OnCreate(Bundle savedInstanceState)
{
    base.OnCreate(savedInstanceState);

    Xamarin.Essentials.Platform.Init(this, savedInstanceState);
    CrossFingerprint.SetCurrentActivityResolver(() => Xamarin.Essentials.Platform.CurrentActivity);
    global::Xamarin.Forms.Forms.Init(this, savedInstanceState);
    LoadApplication(new App());
}
Configuring iOS
To start, our app requires permissions to access the fingerprint.
<key>NSFaceIDUsageDescription</key>
<string>Need your face to unlock secrets!</string>
Unlike with Android, that’s actually all that is required. Simple!
Implementing the biometric check
Now that we have the the platform specific projects configured, we can move on to actually using the biometric authentication to check if a user is authenticated or not.
bool supported = await CrossFingerprint.Current.IsAvailableAsync(true);
if (supported)
{
    AuthenticationRequestConfiguration conf = new AuthenticationRequestConfiguration("Access your account", "Access your account");
    var result = await CrossFingerprint.Current.AuthenticateAsync(conf);

    if (result.Authenticated)
    {
        await DisplayAlert("Success!", "Authentication successful!", "Ok");
    }
    else
    {
        await DisplayAlert("Sorry!", "Authentication failed!", "Ok");
    }
}
else
{
    await DisplayAlert("Sorry!", "Biometrics are not available on your device", "Ok");
}
There are a couple of things happening in that sample, so lets pick out some of the key parts.
bool supported = await CrossFingerprint.Current.IsAvailableAsync(true);
This will tell you whether Biometric is supported by the device that you’re running on. It’s always worth remembering that you need a fallback for users that either don’t enable biometrics, or their device doesn’t support it. Checking whether the authentication is available for use before using it is best practice.
AuthenticationRequestConfiguration conf = new AuthenticationRequestConfiguration("Access your account", "Access your account");
var result = await CrossFingerprint.Current.AuthenticateAsync(conf);
This will configure the prompt that is shown to the user, (note: on iOS this will only take the title and ignore the description), and then return the result of that authentication.
if (result.Authenticated)
{
    await DisplayAlert("Authenticated", "Congrats you were authenticated!", "Ok");
}
else
{
    await DisplayAlert("Sorry", "You were not authenticated", "Ok");
}
This will handle the result of the check, we simply want to check whether the returned value of Authenticated is true and you can then do the action you want, in the example we’re displaying an alert, for example taking the user to a secure page within your app, or before they take an action that you want to confirm the identity of the user.
This should leave you with a prompt that looks similar to this: 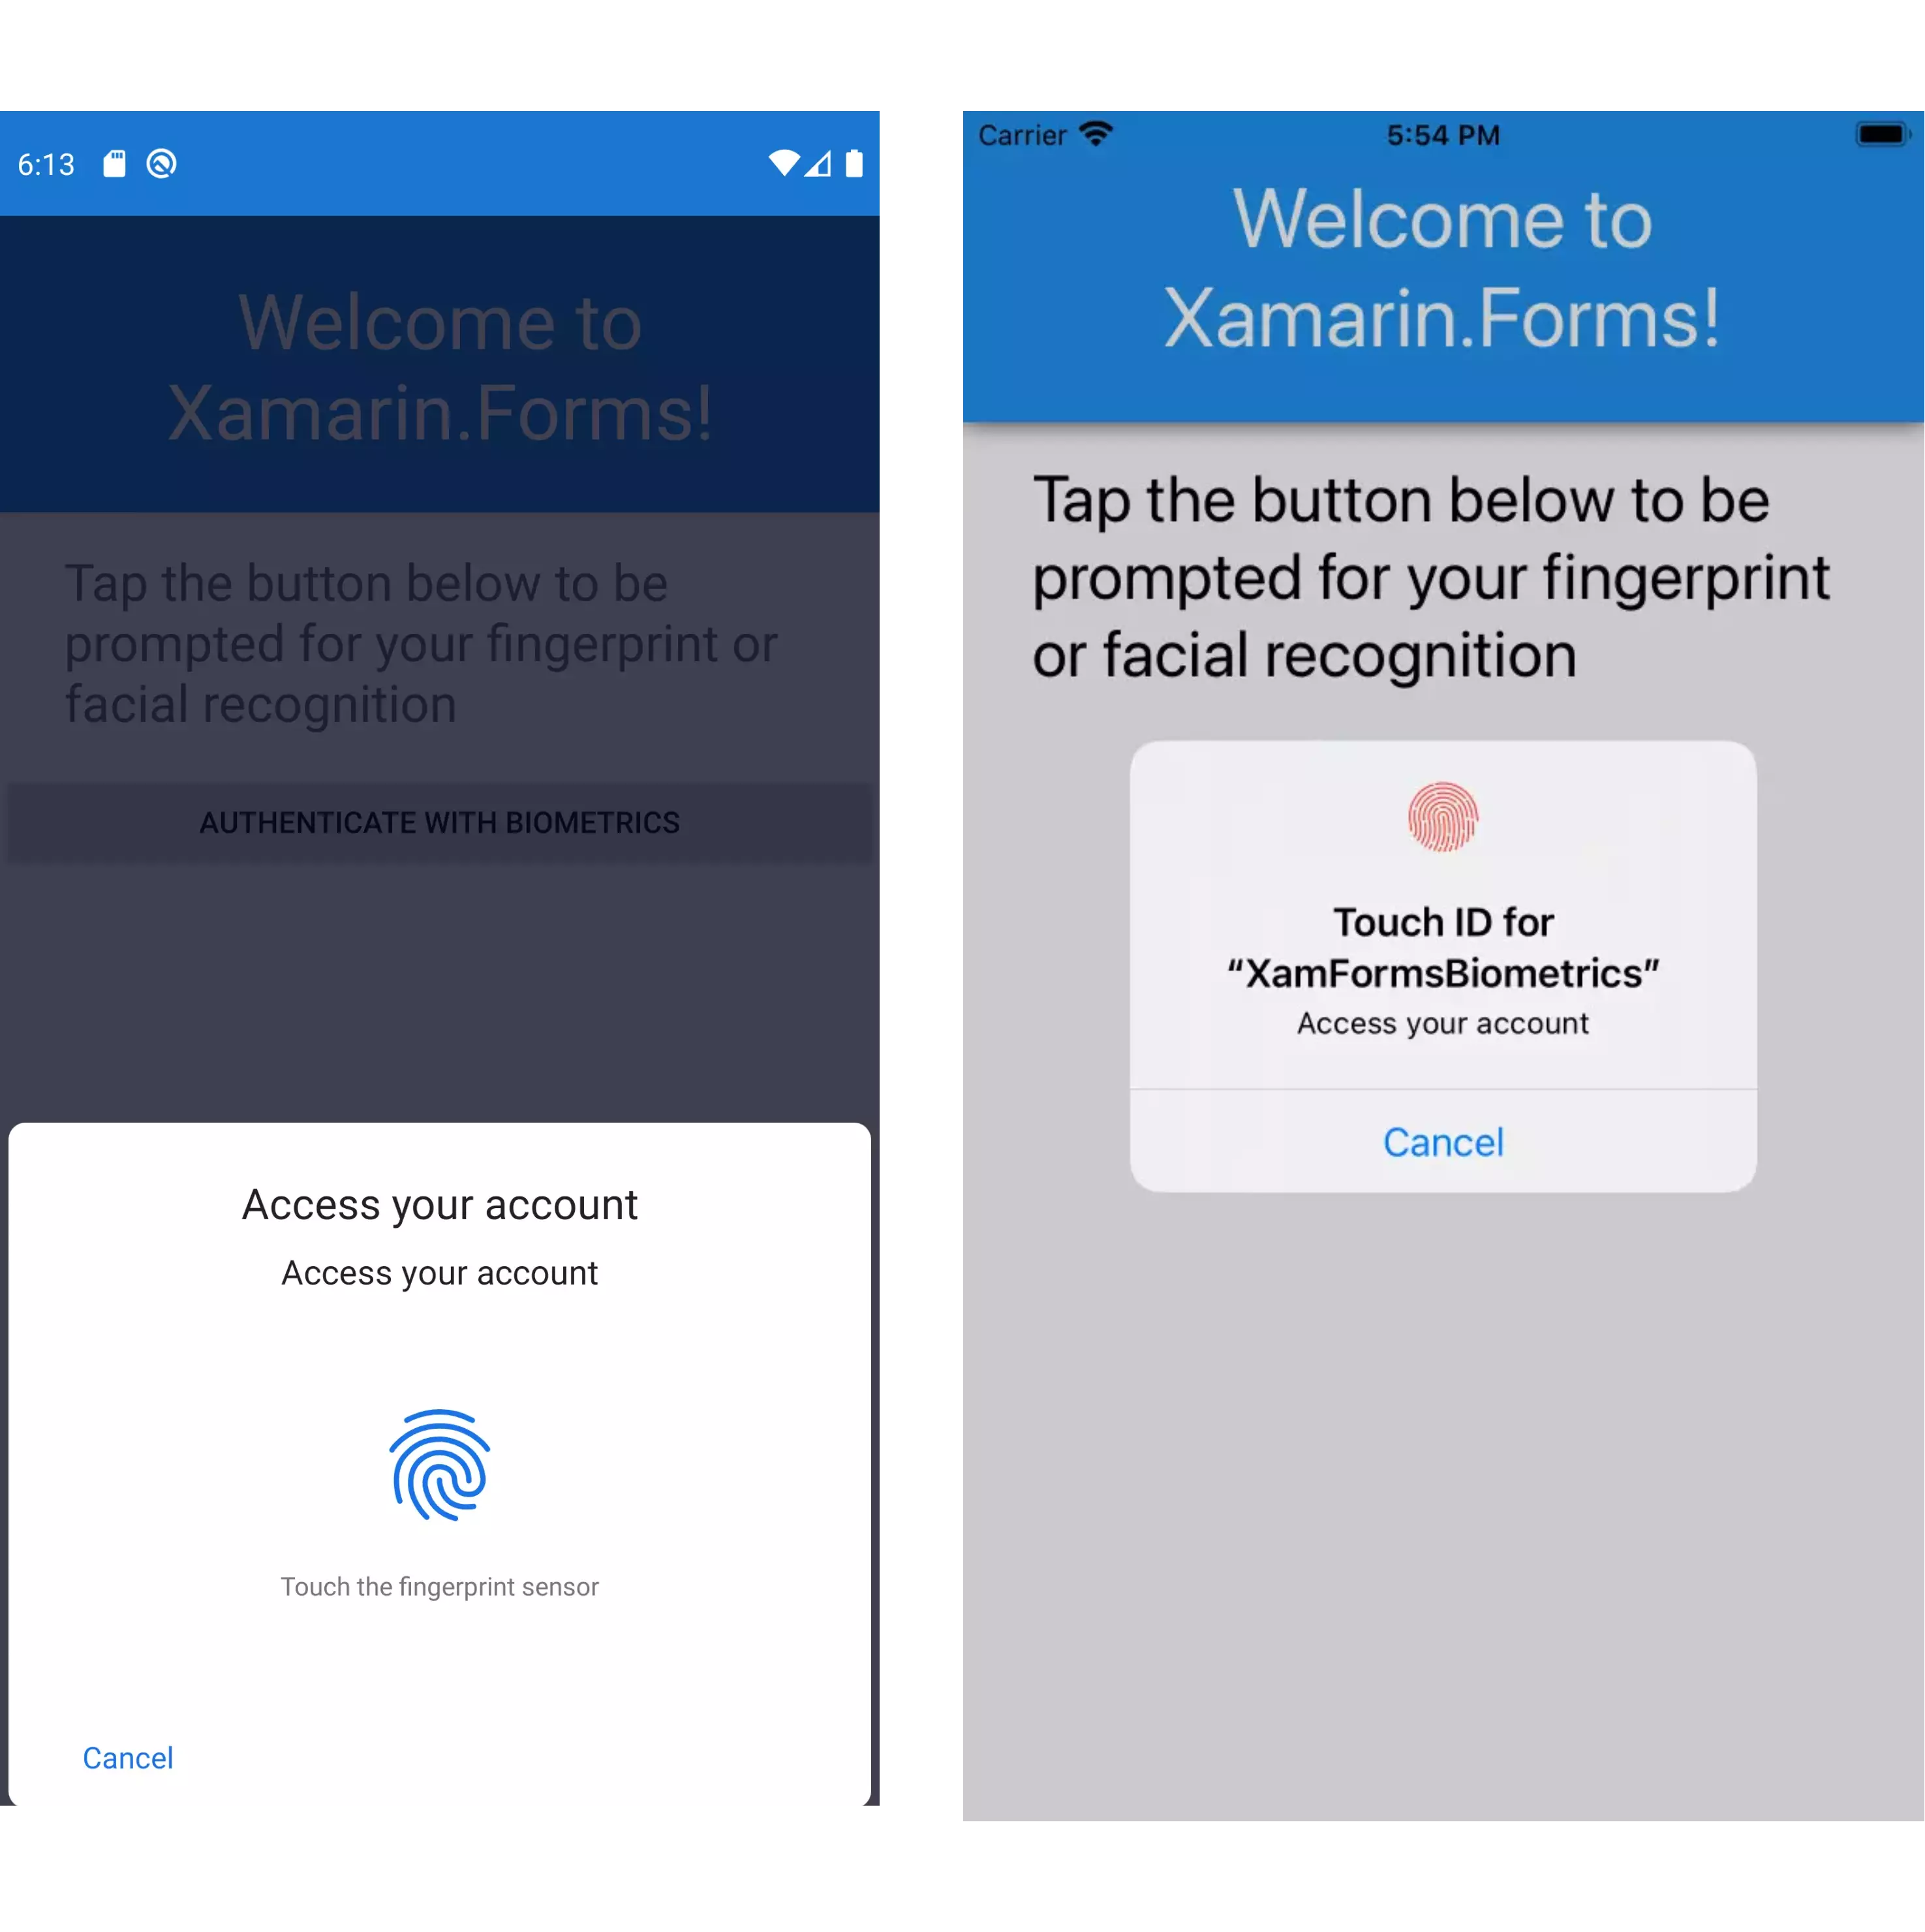
Testing
You’re able to test biometric authentication in both the Android and iOS emulators. With Android, just ensure that you have setup the finger print within the specific emulator that you’re running.
- iPhone - Device > Features > Face ID > Enrolled
- Android - Settings (…) >
Touch the Sensor
Resources
You can find a link to the GitHub repo with the code for this post here
Comments